This is one of those recipe that not a single person in the family can “wait for it to cool”. True story, my son once just plucked half the top of it off when I left the room so he could partake. Made for quite an ugly loaf, but who can blame the guy?
The key to this recipe is to wait until the very end of the fermentation process before you add in the chocolate. Sourdough, and the process of fermentation, can build quite a bit of natural heat. My method for baking it adds even more, so you don’t want the chocolate to melt all over and make too big of a mess in the bread.
.jpg)
My favorite chocolate to use for this is a Honey Mama’s chocolate bar. I take it and chop it up into chocolate chunks…this is not a precise science, just chop it about the size you’d like it to be in the bread!
.jpg)
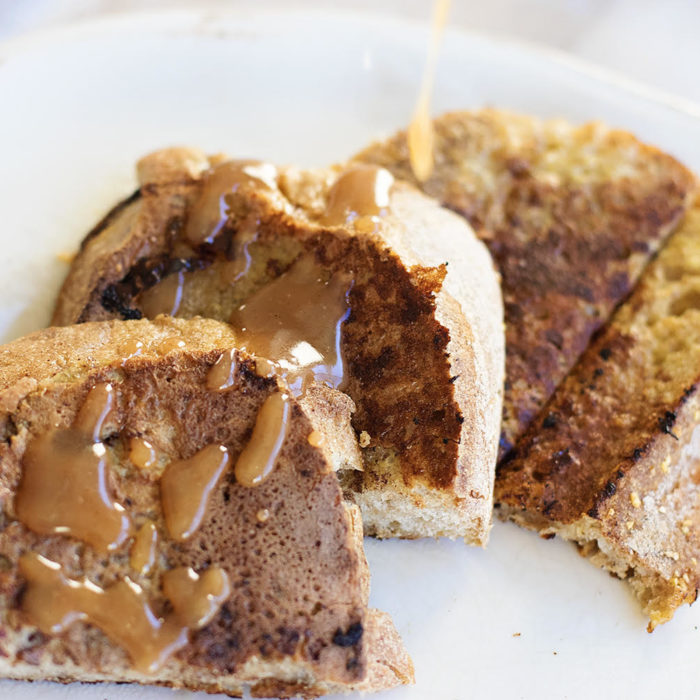
Adding a drizzle of honey will make this bread all the more decadent. Or sometimes I’ll even add hazelnut butter! If I’m having guests over, I’ll sometimes cut it into strips to serve alongside some coffee or a hot beverage of choice.
.jpg)
Chocolate Chunk Sourdough Bread
In a large bowl, whisk together with a fork the starter and the warm water. Add in the flour and sea salt and continue to whisk with a fork until it becomes a bit more difficult to stir. Then go in with your hands and continue to fold and press, kneading the bread until all the flour is combined.
Cover the bowl with a warm damp paper towel and place under a microwave light or in a dark oven. You want to make sure to put it in an area that can build warmth within the bread. This takes about 10-12 hours. The loaf should be doubled in size.
Once the bread has risen, it’s time to convert it to the final rise before baking it. For this, you will grab another bowl that is about the same size and line it with a dish towel. Sprinkle the dish towel (bottom and sides) with a generous amount of flour to prevent the bread from sticking. Grab a little bit more flour and sprinkle it around all the sides of your dough before transferring it into the dish towel lined bowl.
Once the bread has been moved, gently fold up the sides of the dish towel so that the loaf is covered for its final rise. Again, I like to place it under some sort of warmth so it will rise faster. This final rise usually takes a good hour. It won’t necessarily double in size, but you should be able to tell that it has risen and looks nice and full again.
Preheat the oven to 450°.
Once the dough looks full, transfer it into a 4-4.5 qt Dutch oven in a plopping manner, holding down the sides of the dish towel from the bowl so it plops out into the Dutch oven in one easy swoop.
Put the lid on your Dutch oven, and place it in the bread in the oven for 20 minutes. After 20 minutes, remove the lid and cook for another 15.
**Please note : This last step with the cook time is one that can differ based on how your oven temperature is regulated or what altitude you life at. I recommend that you check in on the bread in the last few minutes to know when to remove it. You want to pull it when it has a nice and brown crust : not too dark or black and certainly not too lightly golden, which makes for an under cooked more chewy sourdough bread. It should be a beautiful rich gold with a nice crunchy crust.
Ingredients
Directions
In a large bowl, whisk together with a fork the starter and the warm water. Add in the flour and sea salt and continue to whisk with a fork until it becomes a bit more difficult to stir. Then go in with your hands and continue to fold and press, kneading the bread until all the flour is combined.
Cover the bowl with a warm damp paper towel and place under a microwave light or in a dark oven. You want to make sure to put it in an area that can build warmth within the bread. This takes about 10-12 hours. The loaf should be doubled in size.
Once the bread has risen, it’s time to convert it to the final rise before baking it. For this, you will grab another bowl that is about the same size and line it with a dish towel. Sprinkle the dish towel (bottom and sides) with a generous amount of flour to prevent the bread from sticking. Grab a little bit more flour and sprinkle it around all the sides of your dough before transferring it into the dish towel lined bowl.
Once the bread has been moved, gently fold up the sides of the dish towel so that the loaf is covered for its final rise. Again, I like to place it under some sort of warmth so it will rise faster. This final rise usually takes a good hour. It won’t necessarily double in size, but you should be able to tell that it has risen and looks nice and full again.
Preheat the oven to 450°.
Once the dough looks full, transfer it into a 4-4.5 qt Dutch oven in a plopping manner, holding down the sides of the dish towel from the bowl so it plops out into the Dutch oven in one easy swoop.
Put the lid on your Dutch oven, and place it in the bread in the oven for 20 minutes. After 20 minutes, remove the lid and cook for another 15.
**Please note : This last step with the cook time is one that can differ based on how your oven temperature is regulated or what altitude you life at. I recommend that you check in on the bread in the last few minutes to know when to remove it. You want to pull it when it has a nice and brown crust : not too dark or black and certainly not too lightly golden, which makes for an under cooked more chewy sourdough bread. It should be a beautiful rich gold with a nice crunchy crust.
.jpg)


